SEO for Vite SPAs Without Next.js

Everyone will tell you the same thing, if you need SEO in a React app, use Next.js. I needed SEO in a React app and I chose not to use Next.js. Here is why, and how I built a custom solution that achieves the same result with dramatically less complexity.
The problem
I was building Nexus Fastbridge at Avail, a cross-chain bridge UI where users swap and bridge assets between rollups. The app needed individual, search-engine indexable pages for each supported chain. When someone searches “bridge to Arbitrum” or “Optimism bridge,” our chain-specific page should appear in results with proper titles, descriptions, and Open Graph images.
A standard Vite + React SPA renders everything client-side. When Google’s crawler or a social media link preview bot hits the page, it sees an empty <div id="root"></div> and a JavaScript bundle. No title, no description, no Open Graph tags. The page is invisible to search engines and renders a blank preview on Twitter and Slack.
The obvious solution is Next.js. It builds static sites or server-renders pages on request, giving crawlers fully rendered HTML. But Next.js brings significant overhead that I did not want for this project.
Why I did not use Next.js
This is not an anti Next.js take. Next.js is a great framework for many use cases. But for Fastbridge specifically, it was the wrong tool for three reasons.
First, the bridge UI is a highly interactive, state-heavy application. Transaction status polling, real-time balance updates, wallet connection state, chain switching, all of this is client-side logic that does not benefit from server rendering. The “page” is really an app, and the only thing that needs to be server-friendly is the initial HTML shell with meta tags.
Second, deploying a Next.js app means running a Node.js server or using Vercel’s serverless functions. Our infrastructure was already set up for static deployment on Vercel. Adding a server runtime for the sole purpose of rendering meta tags felt like driving a truck to deliver a letter.
Third, the development experience. Vite’s hot module replacement is near-instant. Next.js has improved significantly, but the development feedback loop for a complex SPA is still faster with Vite. For a small frontend team, developer velocity matters.
So I needed a way to get proper <title>, <meta>, and Open Graph tags into the initial HTML, but only for specific chain pages, and without a server runtime.
The solution: a post-build script
The core idea is simple: after Vite builds the SPA, a Node.js script reads the generated index.html, creates a copy for each chain with that chain’s specific meta tags injected, and writes each copy into a slug-based directory. When a crawler or link preview bot hits /arbitrum, Vercel serves the pre-built arbitrum/index.html with correct meta tags. Then the React SPA hydrates and takes over as a normal client-side app.
Not a Vite plugin. Not a framework. A single .mjs script that runs after vite build.
{
  "scripts": {
    "build": "vite build && node scripts/generate-route-html.mjs"
  }
}
Here is how it works step by step.
Step 1: Define the chain metadata
Each chain has a slug, title, description, OG image URL, canonical URL, theme color, and favicon. This is the single source of truth for all SEO content:
const CHAIN_META = [
{
slug: "arbitrum",
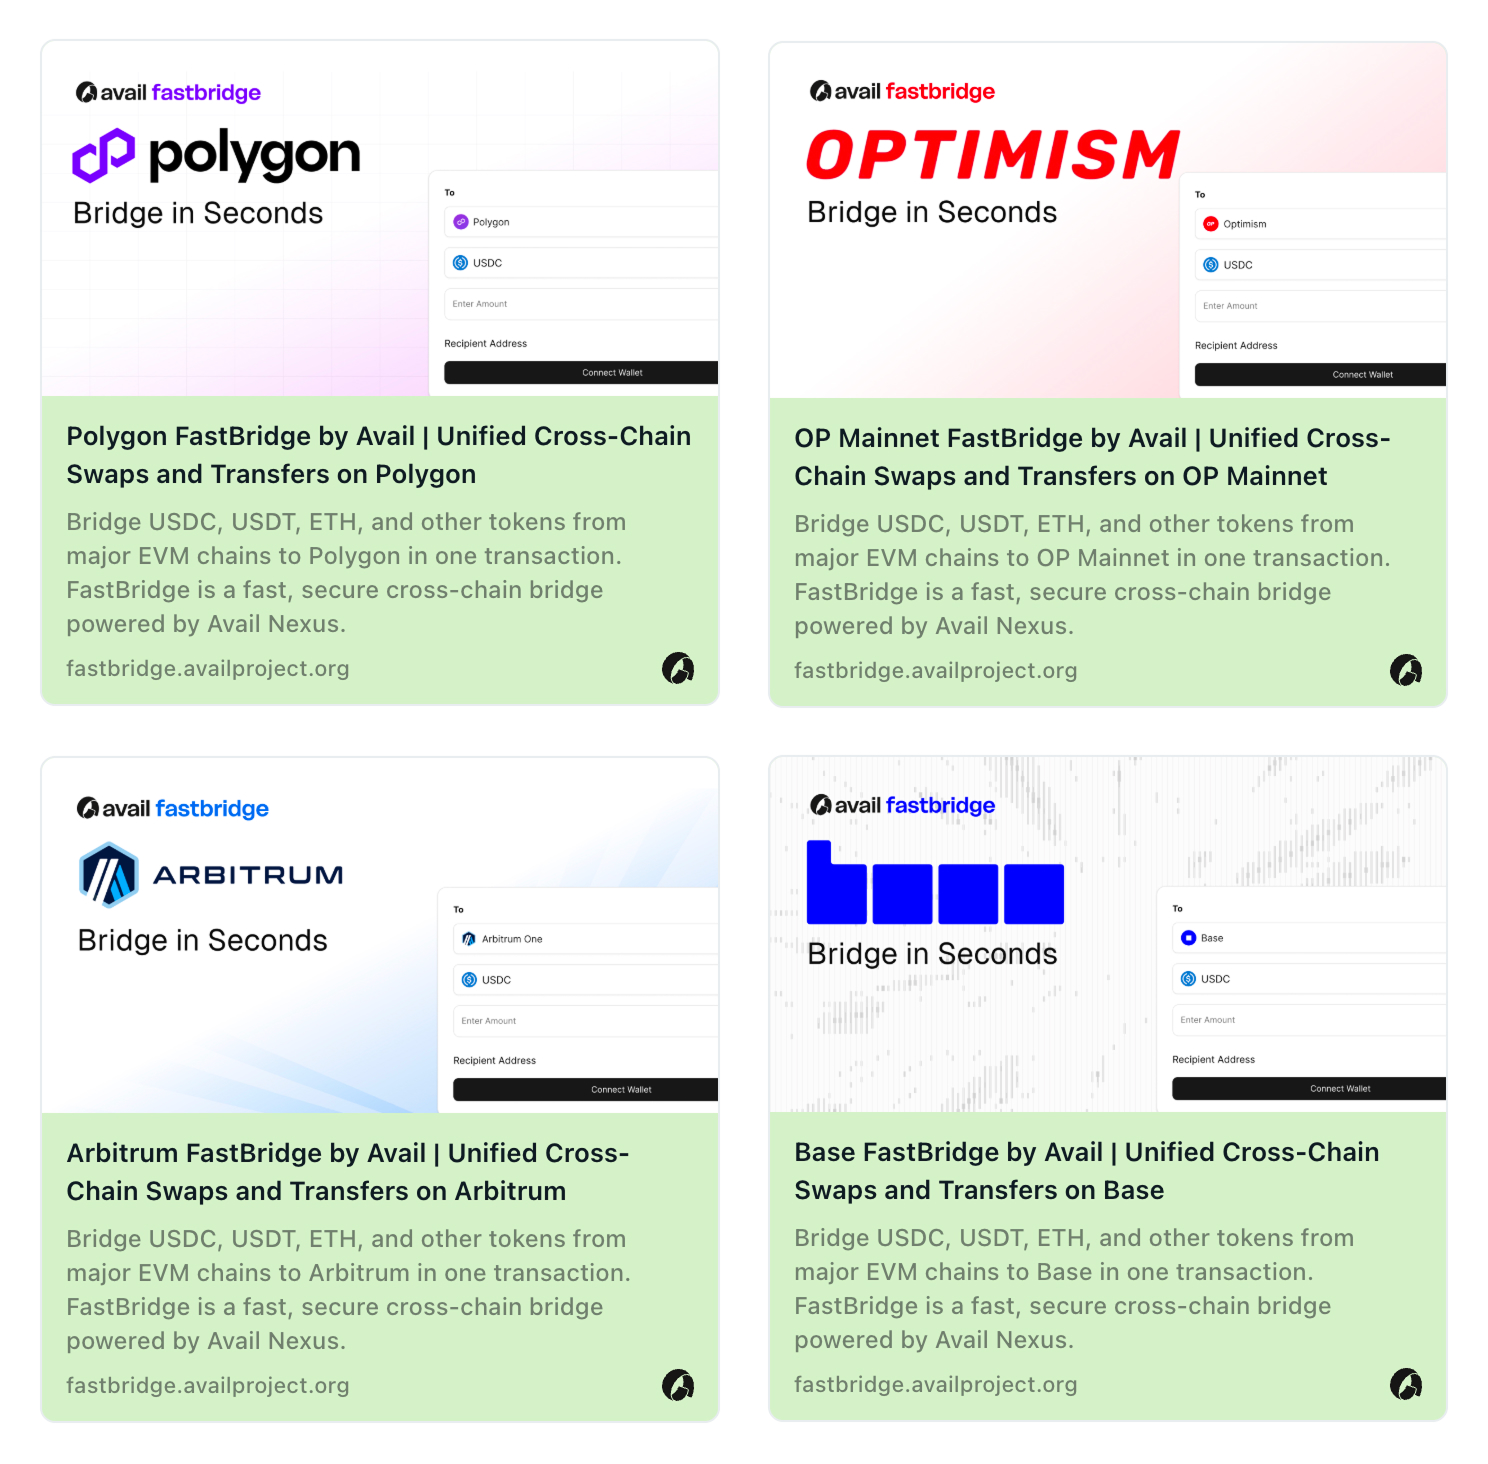
title:
"Arbitrum FastBridge by Avail | Unified Cross-Chain Swaps and Transfers on Arbitrum",
description:
"Bridge USDC, USDT, ETH, and other tokens from major EVM chains to Arbitrum in one transaction. FastBridge is a fast, secure cross-chain bridge powered by Avail Nexus.",
imageUrl: "https://cdn.dev/nexus/meta/arbitrum.jpg",
canonicalUrl: "https://fastbridge.availproject.org/arbitrum/",
themeColor: "#0164E9",
faviconUrl: "/avail_logo.svg",
},
{
slug: "ethereum",
title:
"Ethereum FastBridge by Avail | Unified Cross-Chain Swaps and Transfers on Ethereum",
description:
"Bridge USDC, USDT, ETH, and other tokens from major EVM chains to Ethereum in one transaction. FastBridge is a fast, secure cross-chain bridge powered by Avail Nexus.",
imageUrl: "https://cdn.dev/nexus/meta/ethereum.jpg",
canonicalUrl: "https://fastbridge.availproject.org/ethereum/",
themeColor: "#8891AE",
faviconUrl: "/avail_logo.svg",
},
// ... 11 more chains (MegaETH, Monad, Citrea, Polygon, Base,
// OP Mainnet, Scroll, Kaia, BNB Smart Chain, HyperEVM, Avalanche)
];We currently support 13 chains. Adding a new one means adding an object to this array and running the build. No framework changes, no routing configuration, no new components.
Step 2: Regex-based meta tag injection
The script reads the built index.html from the dist directory and replaces every meta tag using regex patterns. This is more robust than simple string replacement because it matches the tag structure regardless of the exact content that Vite’s build process inserts:
const RE_TITLE = /<title>[^<]*<\/title>/;
const RE_CANONICAL = /<link rel="canonical"[^>]*>/;
const RE_THEME_COLOR = /<meta name="theme-color"[^>]*>/;
const RE_META_DESCRIPTION = /<meta\s+name="description"[^>]*>/;
const RE_OG_TITLE = /<meta\s+property="og:title"[^>]*>/;
const RE_OG_DESCRIPTION = /<meta\s+property="og:description"[^>]*>/;
const RE_OG_URL = /<meta\s+property="og:url"[^>]*>/;
const RE_OG_IMAGE = /<meta\s+property="og:image"[^>]*>/;
const RE_TWITTER_TITLE = /<meta\s+name="twitter:title"[^>]*>/;
const RE_TWITTER_DESCRIPTION = /<meta\s+name="twitter:description"[^>]*>/;
const RE_TWITTER_IMAGE = /<meta\s+name="twitter:image"[^>]*>/;
const RE_TWITTER_SITE = /<meta\s+name="twitter:site"[^>]*>/;
const RE_ITEMPROP_IMAGE = /<meta\s+itemprop="image"[^>]*>/;
const RE_FAVICON = /<link\s+rel="icon"[^>]*>/;

function injectMeta(baseHtml, chain) {
  const { title, description, imageUrl, canonicalUrl, themeColor, faviconUrl } =
    chain;

  return baseHtml
    .replace(RE_TITLE, `<title>${title}</title>`)
    .replace(RE_CANONICAL, `<link rel="canonical" href="${canonicalUrl}">`)
    .replace(
      RE_FAVICON,
      `<link rel="icon" href="${faviconUrl}" type="image/svg+xml">`,
    )
    .replace(
      RE_THEME_COLOR,
      `<meta name="theme-color" content="${themeColor}">`,
    )
    .replace(
      RE_META_DESCRIPTION,
      `<meta name="description" content="${description}">`,
    )
    .replace(RE_OG_TITLE, `<meta property="og:title" content="${title}">`)
    .replace(
      RE_OG_DESCRIPTION,
      `<meta property="og:description" content="${description}">`,
    )
    .replace(RE_OG_URL, `<meta property="og:url" content="${canonicalUrl}">`)
    .replace(RE_OG_IMAGE, `<meta property="og:image" content="${imageUrl}">`)
    .replace(RE_ITEMPROP_IMAGE, `<meta itemprop="image" content="${imageUrl}">`)
    .replace(RE_TWITTER_TITLE, `<meta name="twitter:title" content="${title}">`)
    .replace(
      RE_TWITTER_DESCRIPTION,
      `<meta name="twitter:description" content="${description}">`,
    )
    .replace(
      RE_TWITTER_IMAGE,
      `<meta name="twitter:image" content="${imageUrl}">`,
    )
    .replace(
      RE_TWITTER_SITE,
      `<meta name="twitter:site" content="${canonicalUrl}">`,
    );
}
Every meta tag that matters for SEO and social previews gets replaced: title, description, canonical URL, Open Graph (title, description, URL, image), Twitter Card (title, description, image, site), theme color, favicon, and even itemprop="image" for Google’s structured data. That is 14 replacements per chain, all using regex to match tag structure rather than exact content strings.
Step 3: Generate files and sitemap
The main loop reads the built index.html, runs the injection function for each chain, and writes the output to a slug-based directory:
const distDir = path.resolve(__dirname, "../apps/root/dist");
const baseHtml = fs.readFileSync(path.join(distDir, "index.html"), "utf-8");

for (const chain of CHAIN_META) {
  const outDir = path.join(distDir, chain.slug);
  fs.mkdirSync(outDir, { recursive: true });
  fs.writeFileSync(
    path.join(outDir, "index.html"),
    injectMeta(baseHtml, chain),
    "utf-8",
  );
}
The script also generates a sitemap.xml in the same pass, listing all chain pages alongside static pages (homepage, FAQ, contact) with appropriate priority values:
const allUrls = [
  { loc: `${baseUrl}/`, priority: "1.0" },
  { loc: `${baseUrl}/faq`, priority: "0.8" },
  { loc: `${baseUrl}/contact`, priority: "0.8" },
  ...CHAIN_META.map((chain) => ({
    loc: chain.canonicalUrl,
    priority: "0.9",
  })),
];
One script. Generates 13 chain-specific HTML files plus a sitemap. Runs in under a second.
Step 4: Vercel routing
This is where the approach differs from “just deploy static files.” Vercel does not automatically route /arbitrum to /arbitrum/index.html in a SPA context, as the SPA’s catch-all route would intercept it first. We need explicit rewrite rules in vercel.json:
{
  "rewrites": [
    {
      "source": "/:slug(megaeth|monad|citrea|arbitrum|ethereum|polygon|base|op-mainnet|scroll|kaia|bnb-smart-chain|hyperevm|avalanche)",
      "destination": "/:slug/index.html"
    },
    {
      "source": "/:slug(megaeth|monad|citrea|arbitrum|ethereum|polygon|base|op-mainnet|scroll|kaia|bnb-smart-chain|hyperevm|avalanche)/(.*)",
      "destination": "/:slug/index.html"
    },
    {
      "source": "/(.*)",
      "destination": "/"
    }
  ]
}
The first rewrite catches exact chain slugs and serves the pre-built HTML. The second catches any nested paths under a chain slug. The third is the SPA fallback, everything else goes to the root index.html where React Router handles client-side routing.
The order matters. Vercel evaluates rewrites top to bottom. Chain-specific routes match first and get the SEO-optimized HTML. Everything else falls through to the SPA. Crawlers and link preview bots always hit the first or second rule and receive fully-formed meta tags. Users navigating within the app hit the third rule after initial load and get the standard SPA experience.
Step 5: Client-side routing
On the client side, React Router handles navigation normally. When a user lands on /arbitrum, the pre-built HTML loads with Arbitrum-specific meta tags, theme color, and favicon. Then the React app mounts and React Router takes over. Subsequent navigation between chains happens client-side without page reloads, the user gets the SPA experience while crawlers get the static HTML experience.
The key insight is that the generated HTML files all load the same JavaScript bundle. The chain-specific content is only in the <head> meta tags. The <body> is identical across all generated pages, it contains the same <div id="root"></div> and the same script tags. React mounts, reads the current URL, and renders the correct chain UI.
A note on the monorepo structure
Fastbridge uses a monorepo with the main app living at apps/root/. The Vite config sets outDir: "apps/root/dist" and the post-build script resolves its paths relative to this directory. This means the script works regardless of where it is called from in the monorepo, it always finds the right dist/index.html and writes the chain directories alongside it. If you are adapting this pattern for a simpler project structure, just change the distDir path to your build output directory.
Why a post-build script and not a Vite plugin?
The chain metadata config in the actual codebase lives in a TypeScript file that imports from npm packages (@avail-project/nexus-core). A Vite plugin runs during the build process where these imports are resolved, but a standalone Node script running after the build cannot directly import TypeScript with npm dependencies without its own build step. So the script maintains a plain JavaScript mirror of the chain metadata.
This is a deliberate tradeoff: a tiny bit of duplication (keeping the JS mirror in sync with the TS source) in exchange for zero build complexity. The script is a plain .mjs file that runs with node, no TypeScript compilation, no bundling, no dependencies beyond node:fs and node:path. When a new chain is added to the TypeScript config, the corresponding entry gets added to the script’s CHAIN_META array. It is a manual step, but it happens maybe once a month and takes 30 seconds.
A Vite plugin approach would eliminate the duplication but add complexity. For 13 chains that change infrequently, the simple approach wins.
What this approach handles
Search engine indexing. Googlebot hits /arbitrum, receives a fully formed HTML page with a proper <title>, meta description, canonical URL, and structured data. It indexes the page correctly. All 13 chain pages are individually discoverable in search results.
Social media link previews. When someone shares fastbridge.availproject.org/arbitrum on Twitter, Slack, or LinkedIn, the preview bot reads the Open Graph tags from the static HTML. Correct title, description, image, and even theme color render in the preview card. Each chain gets its own branded OG image and color scheme.
Performance. The page loads as a static HTML file, there is no server-side rendering step, no cold start, no compute cost per request. It is as fast as serving a static site can be. Landing assets get year-long immutable cache headers.
Development simplicity. No SSR hydration mismatches to debug. No server/client code splitting to manage. No getServerSideProps or getStaticProps to maintain. The entire SEO infrastructure is a single script under 200 lines, a Vercel config, and a build command.
What this approach does NOT handle
Dynamic SEO content. If you need meta tags that change based on real-time data (like a product page showing current price or inventory), this approach does not work, you need actual server rendering. Fastbridge’s chain data is relatively static (chain names and descriptions do not change every hour), so build-time generation is fine.
Pages that do not exist at build time. If you have user-generated content where new pages are created dynamically, you cannot generate HTML for them at build time. But for a known set of 13 chains, this is not a problem.
Full content indexing. Google will see the meta tags and a mostly empty body. If you need Google to index the actual page content (not just the title and description), you need SSR or pre-rendering. For Fastbridge, indexing the meta tags is sufficient, users do not search for the content inside the bridge UI, they search for “bridge to Arbitrum.”
Adding a new chain
The entire process for adding a new chain’s SEO page:
- Add the chain entry to the TypeScript config (the app’s source of truth)
- Add a matching entry to
CHAIN_METAin the post-build script - Add the chain slug to the Vercel rewrite regex pattern
- Create the chain’s OG image and upload it to the CDN
- Run
npm run build
Five steps. No framework changes, no new routes to configure, no new components to create, no deployment configuration beyond updating the rewrite pattern. The build generates the new chain’s HTML automatically.
When to use this pattern
This approach works well when you have a known, finite set of pages that need SEO (chain pages, product categories, landing pages), when your content is relatively static and can be defined at build time, when you want to keep the simplicity of a Vite SPA without adding a framework, and when you are deploying to a static hosting platform like Vercel, Netlify, or Cloudflare Pages.
If you have hundreds of dynamic pages with frequently changing content, use Next.js or Astro. If you have 10-50 mostly-static pages that need meta tags, this post-build script approach is simpler, faster, and has zero runtime cost.
The result
Fastbridge’s 13 chain pages are fully indexed by Google with correct titles and descriptions. Social media previews render properly with chain-specific branding. The auto-generated sitemap keeps search engines up to date. The development experience remains pure Vite with fast HMR, simple build, and no SSR complexity. And the entire SEO infrastructure is a single post-build script, a Vercel config, and a one-line addition to package.json.
Sometimes the best architecture decision is the one that avoids adding complexity.
Written by Shrinath Prabhu, Senior Staff Frontend Engineer at Avail Project. I build products from zero to launch with Vue, React, and TypeScript. More case studies at shrinath.me/work.